Non-Surgical Treatments Led by RenoPlastic Surgeon, Dr. Tiffany McCormack
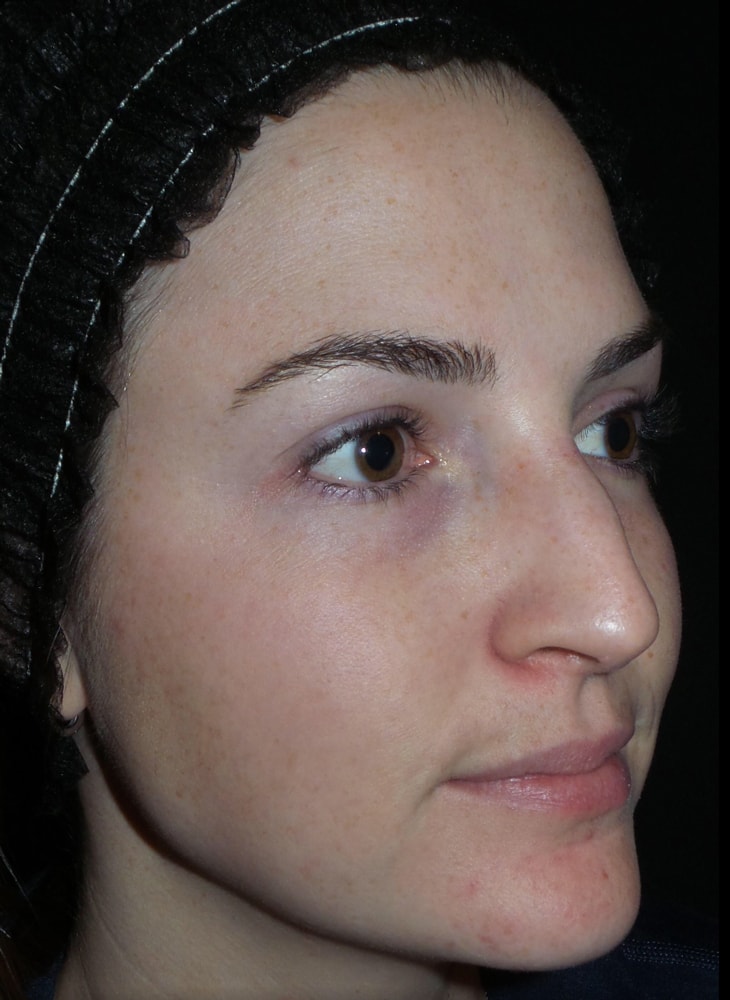
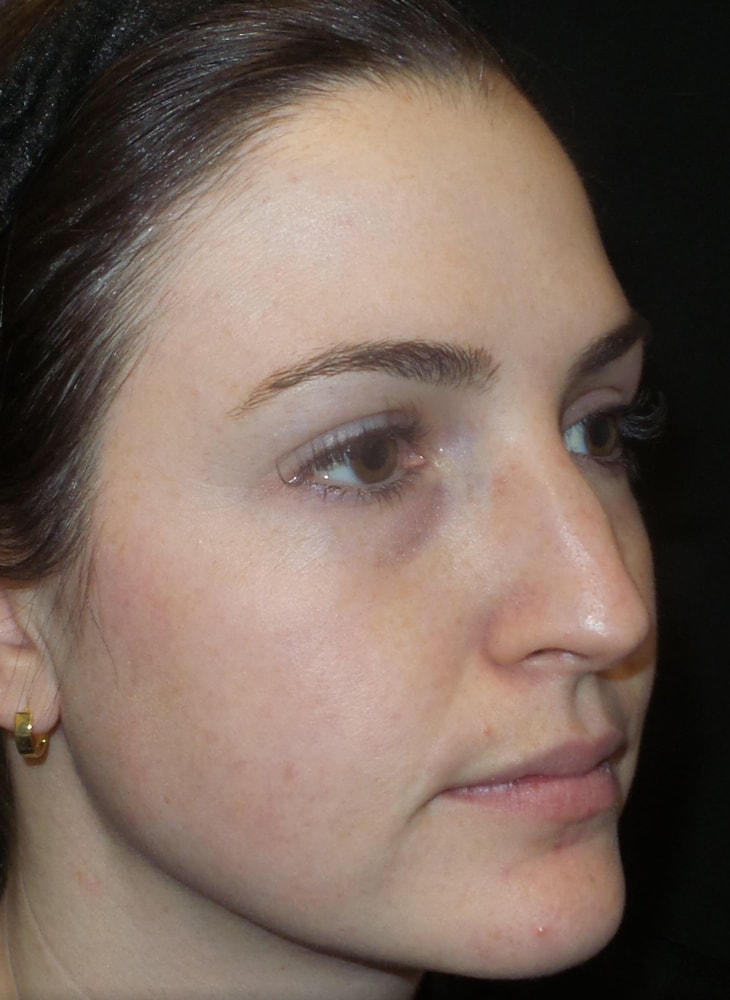
Home | Gallery | BBL™ Photorejuvenation | Patient 1