« Previous
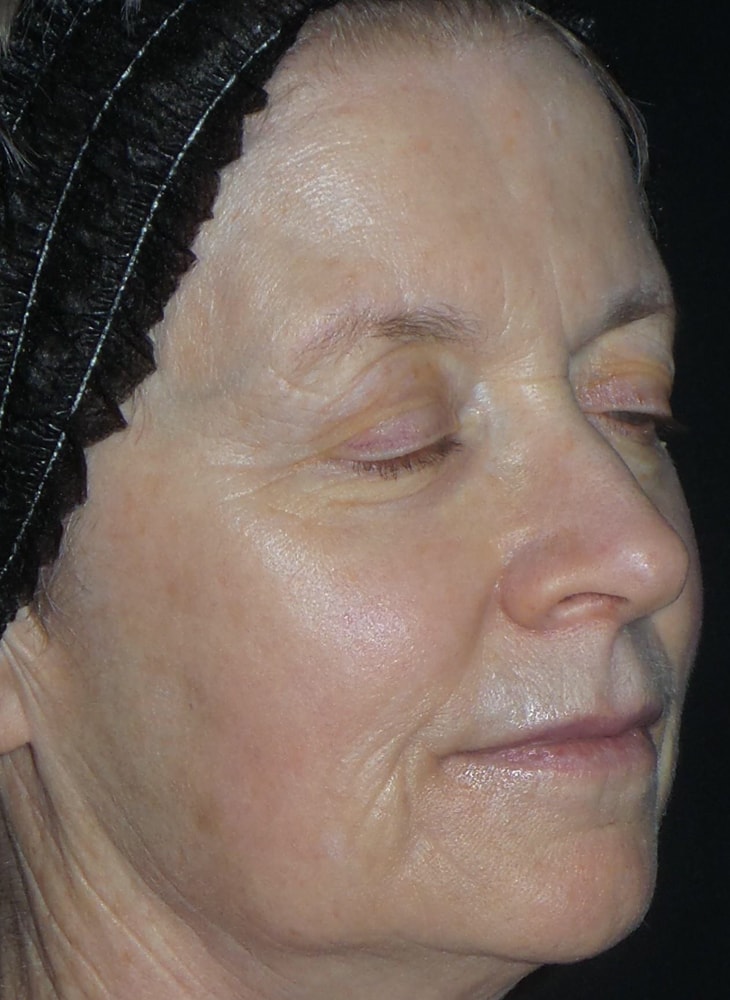
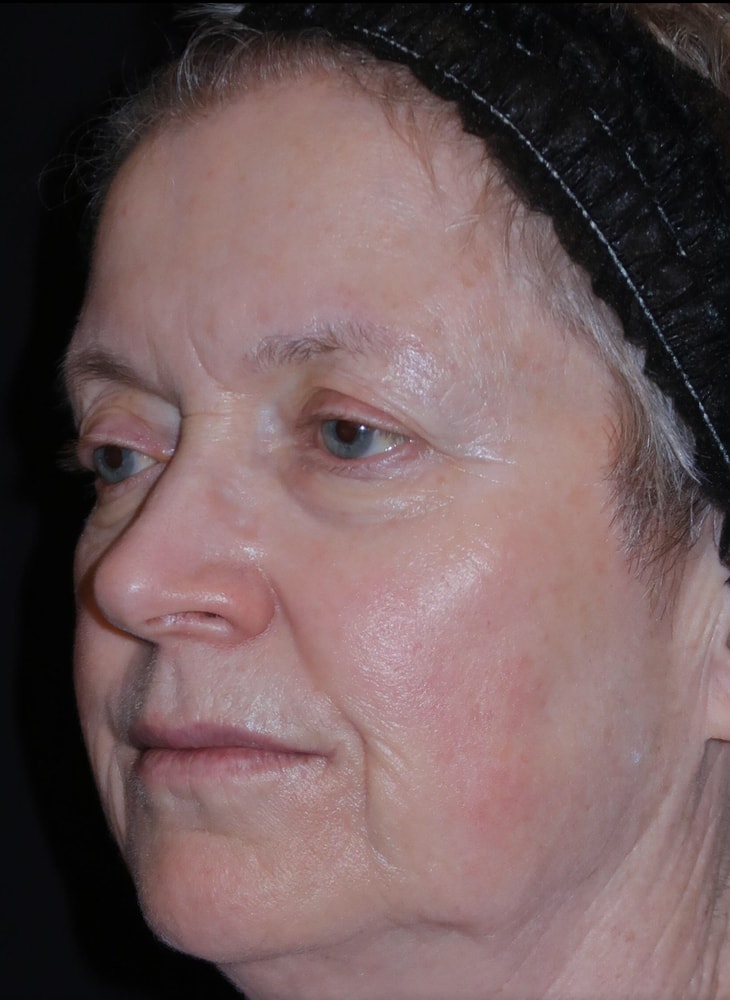
Patient 3
Before
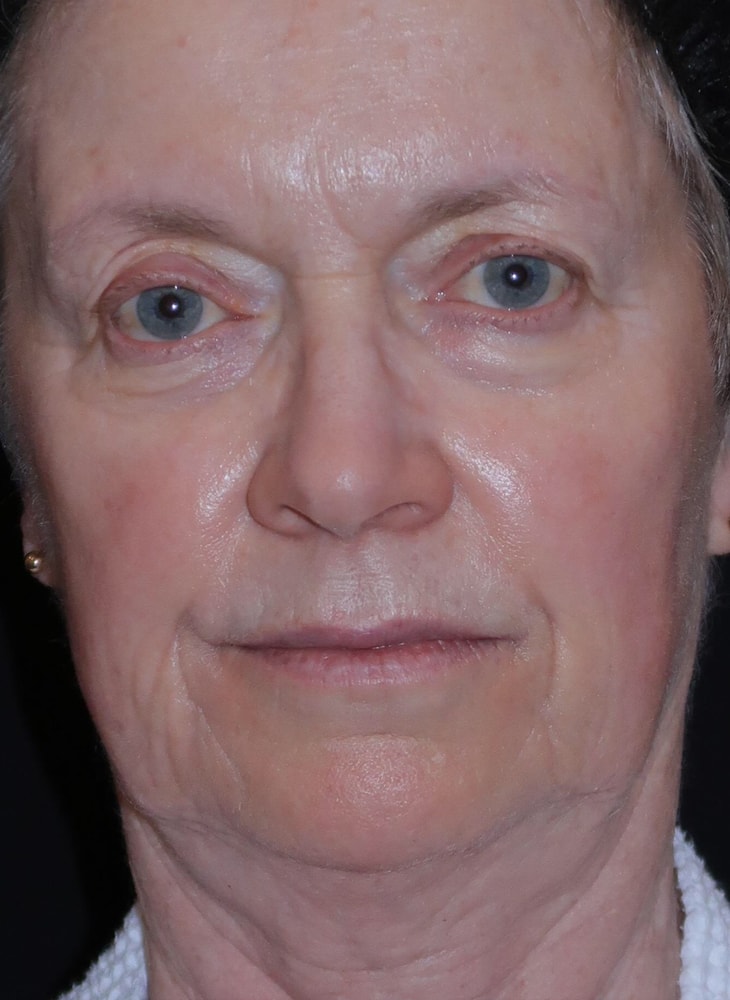
After

Before
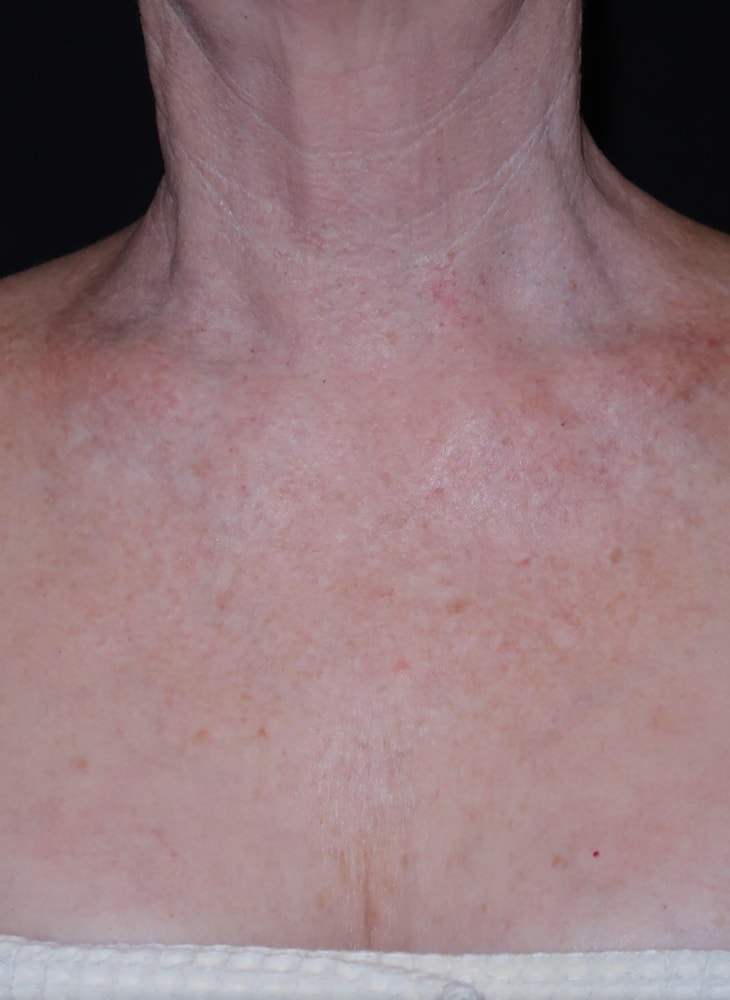
After
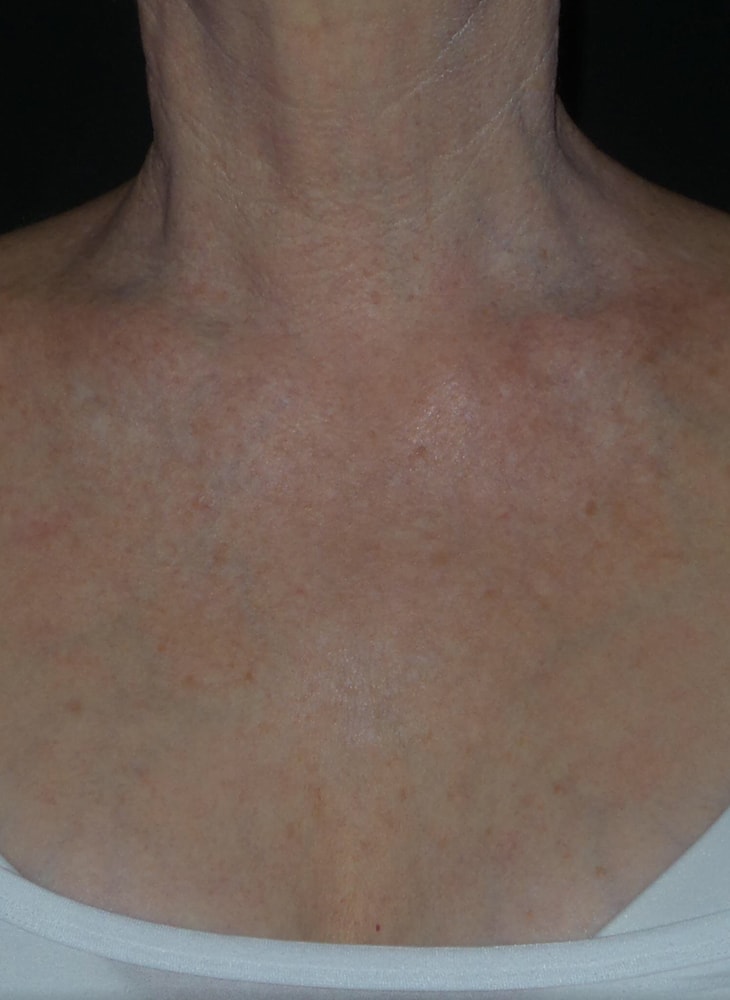
Before
After
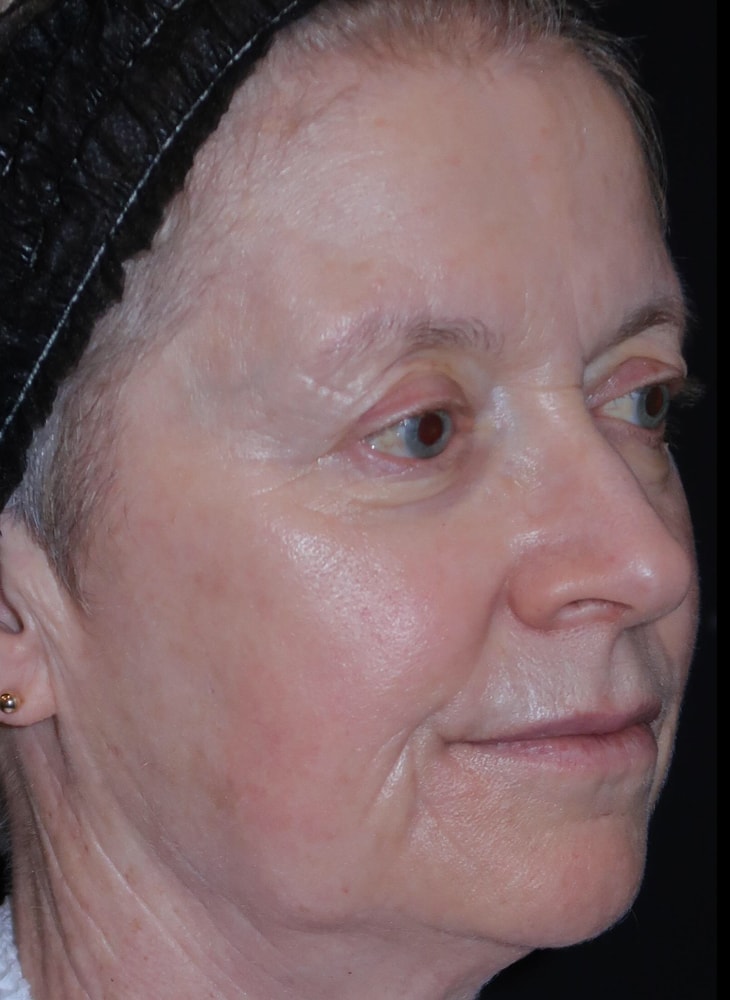
Before
After
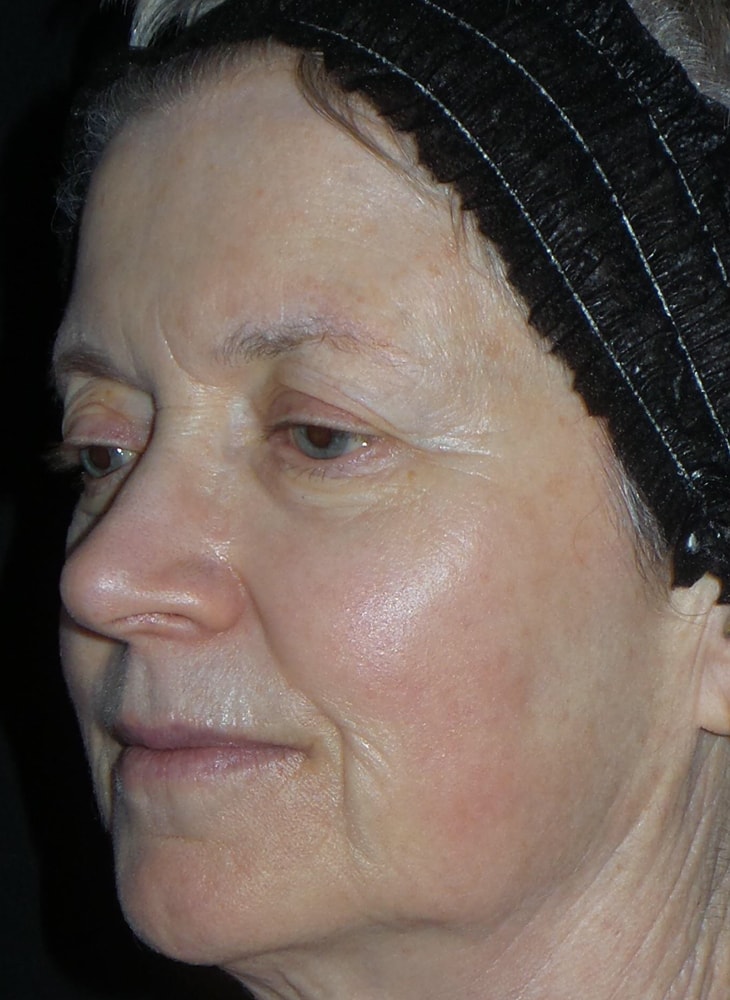
Home | Gallery | BBL™ Photorejuvenation | Patient 3